This is where an idea becomes a win you can point at. Every improvement is one Kaizen card, and every card is the same twelve Kaizen Steps — the A3 people used to draw by hand, except this one fills itself from the work you already did.
Two words, and they are not the same thing. Kaizen Steps are the twelve — the whole journey, the sheet you print and hang on the wall. The Kaizen Walk is how you fill them in: one step at a time, in order, on whatever screen you have with you. You do the Kaizen Walk to close the Kaizen Steps.
Kaizen Steps — the twelve
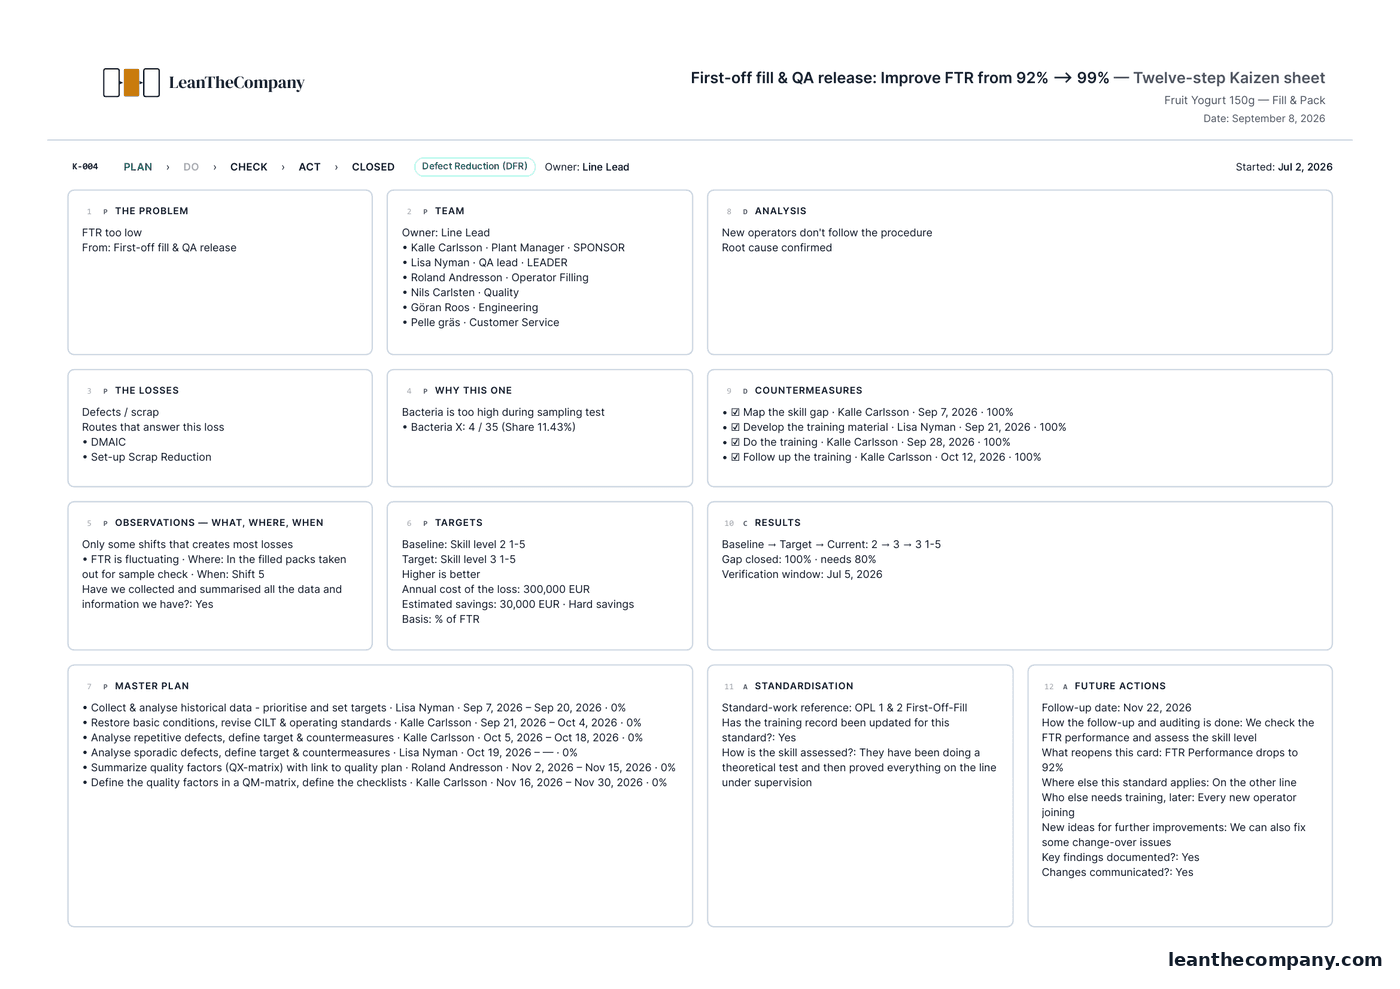
The card is one sheet, four rows deep. Each step carries its number and the phase it belongs to.
| # | Plan | # | Do · Check · Act |
|---|---|---|---|
| 1 | The problem | 8 | Analysis |
| 2 | Team | 9 | Countermeasures |
| 3 | The losses | 10 | Results |
| 4 | Why this one | 11 | Standardisation |
| 5 | Observations — what, where, when | 12 | Future actions |
| 6 | Targets | ||
| 7 | Master plan |
Seven steps close Plan. Two close Do, one closes Check, two close Act. Nothing is hidden, and a step you can't type in yet says which phase it opens in.
Create a card
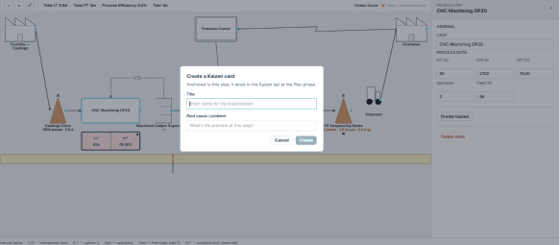
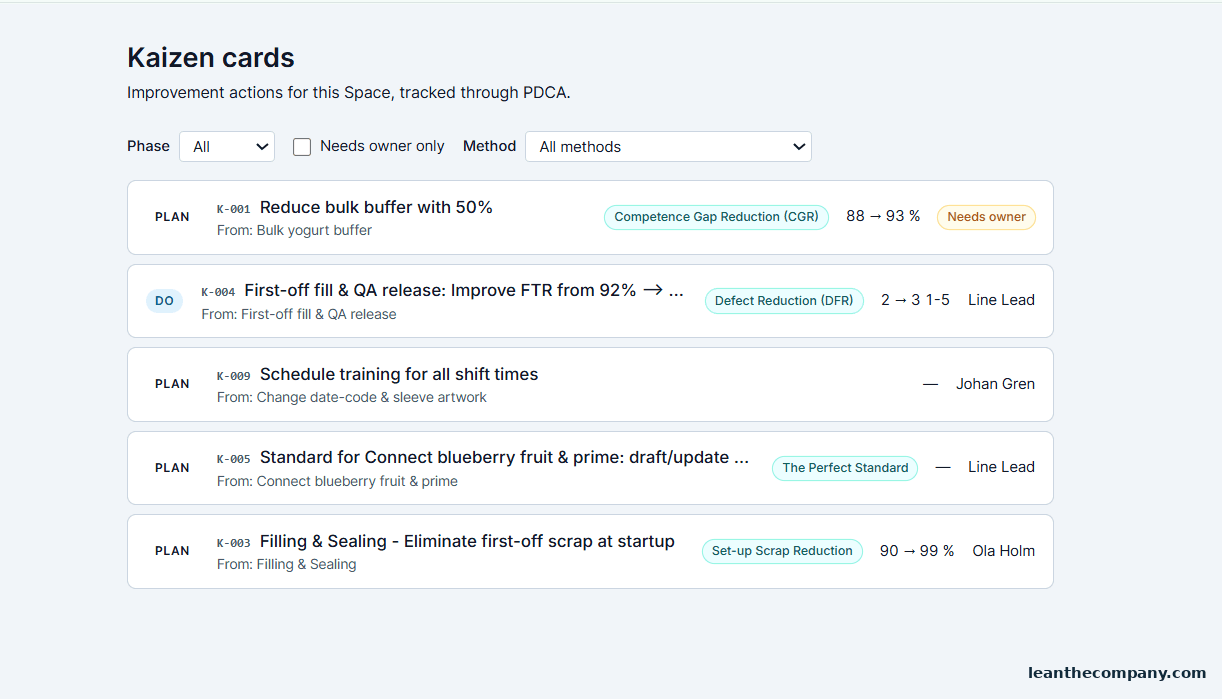
On a VSM step or a Process Map activity, click Create Kaizen: a Title and the Root cause / problem. The card lands at Plan. Cards also arrive from Sensei investigations, the Flow Workshop and the Bridge — every road leads here.
The Kaizen Walk — one step at a time, on the phone if you like
Click Do the Kaizen Walk and the card stops being a wall of boxes. It asks one step at a time, in order, and it picks up where you left off — not back at step 1.
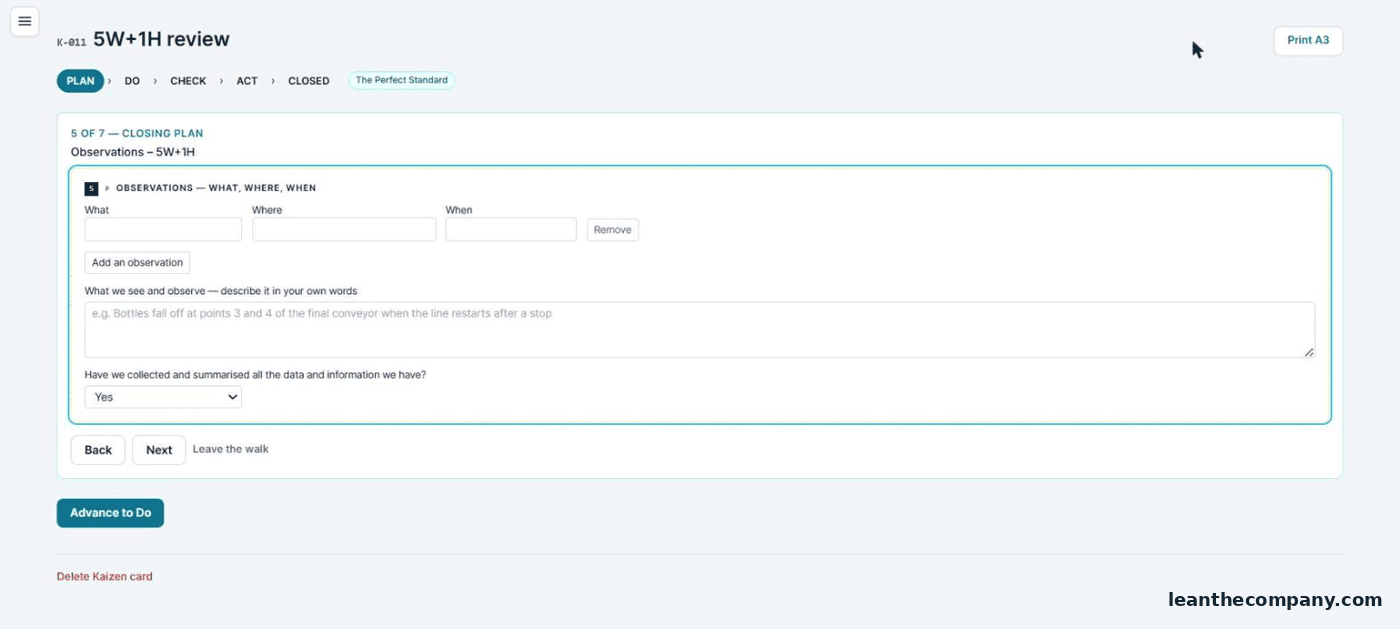
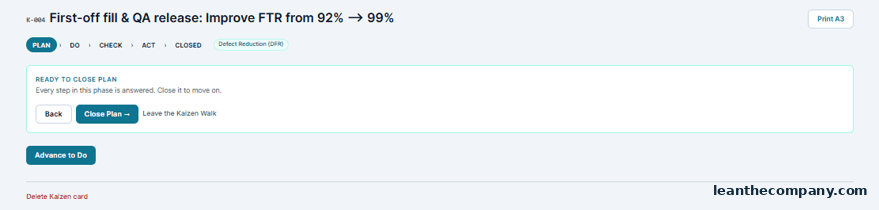
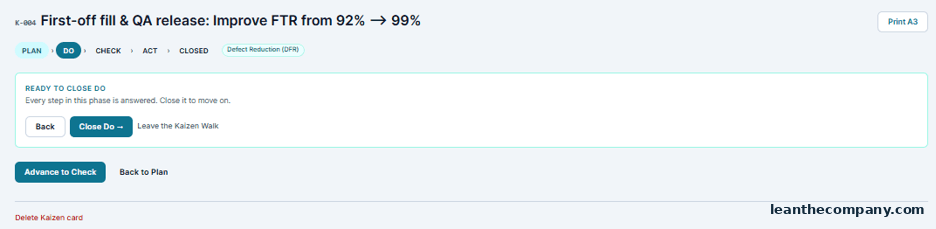
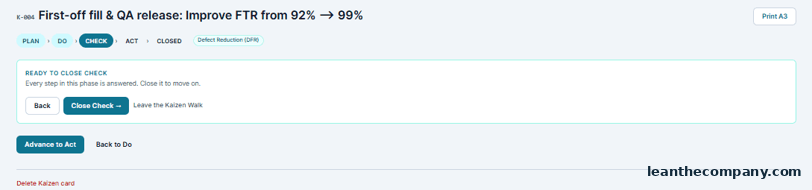
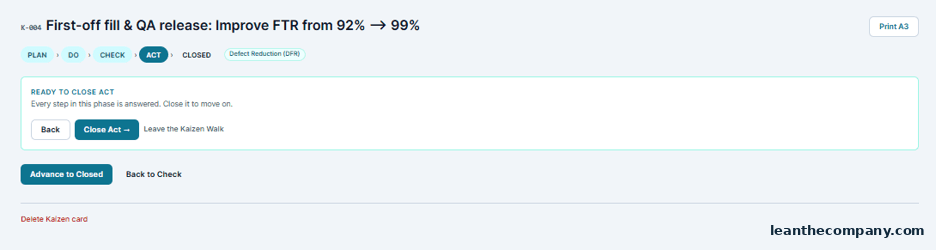
The header says exactly where you are: 5 of 7 — closing Plan. That counter is the steps in this phase, not all twelve, which is why the step badge and the counter show different numbers. Back · Next · Leave the Kaizen Walk — and when every step in the phase is answered, the Walk says so and offers to close it.
Tip — the Kaizen Walk is the one to open on your phone at the line. The steps stack one under another on a small screen, you type where you stand, and nothing is lost if you walk away mid-answer: the card commits as you move.
Plan — steps 1 to 7
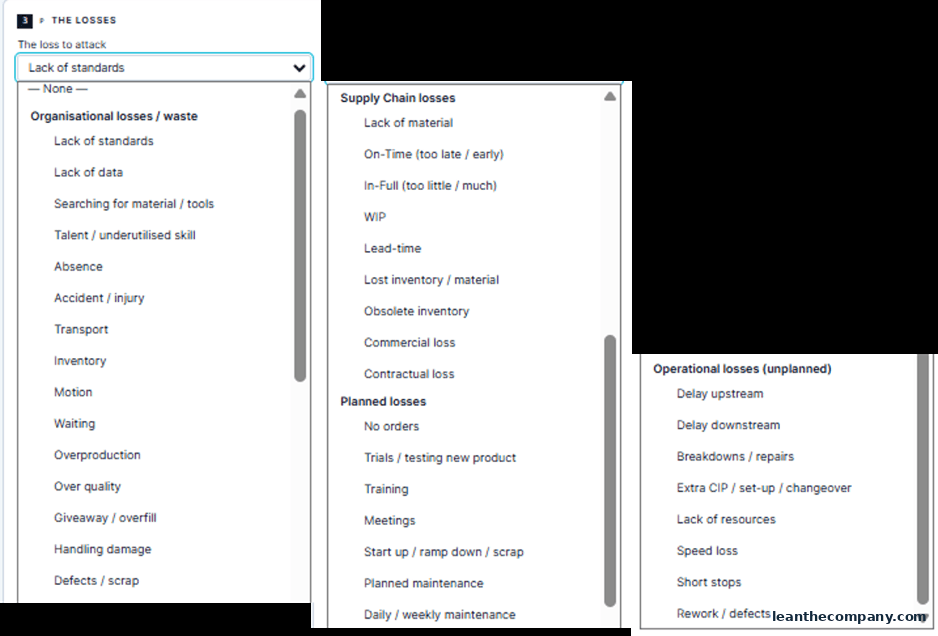
1 · The problem — the effect observed. The deviation. The loss. If the card came from a map, it already says which step it came from.
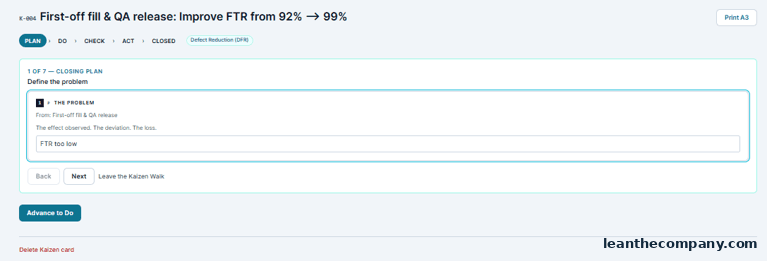
2 · Team — the Owner (accountable, from your Space's roles) and the Kaizen team: name, function, and role — Sponsor · Leader · Member. The owner is accountable; the leader runs the team.
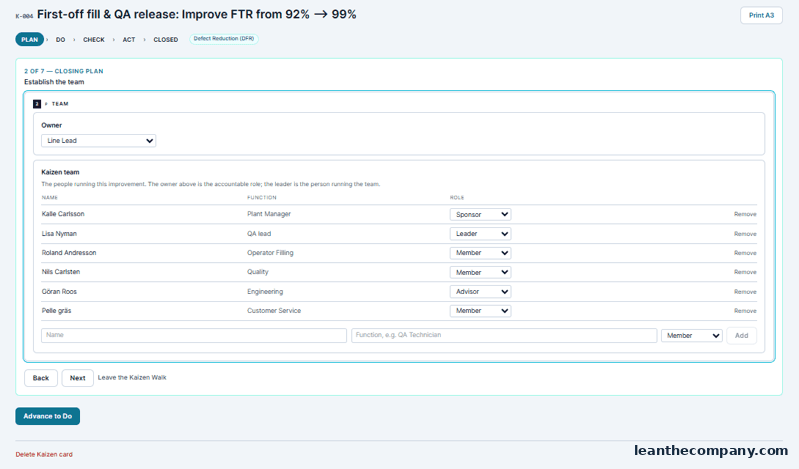
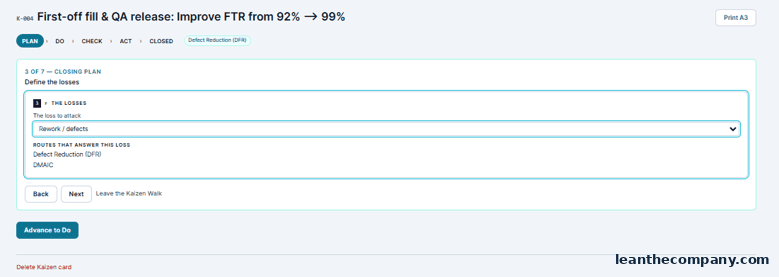
3 · The losses — the loss to attack, picked from 39 losses in four families: Organisational losses / waste (15) · Supply Chain losses (9) · Planned losses (7) · Operational losses, unplanned (8). Pick one and the card names the improvement routes that answer it — Defect Reduction, Set-up Scrap Reduction, CILT, DMAIC and the rest. ⚑ A loss is classified by what it produces, never by the fix you already have in mind.
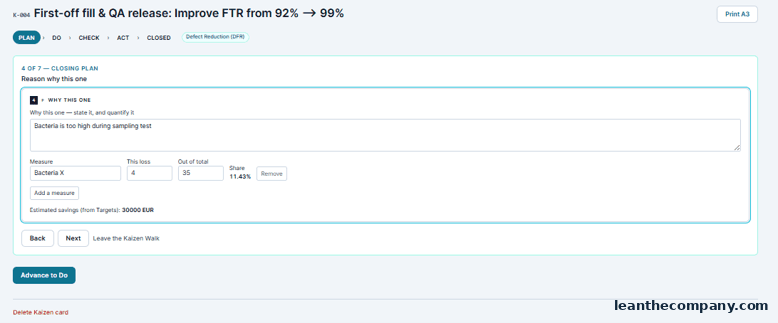
4 · Why this one — state it and quantify it. Measure · This loss · Out of total, and the Share is computed for you. This is the step that stops a Kaizen being someone's hobby: Bacteria X: 4 of 35 — 11.43 %.
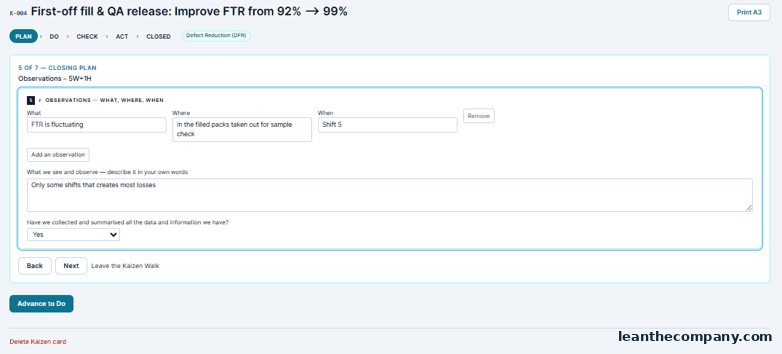
5 · Observations — what, where, when — what you actually saw, where, and on which shift. A row per observation, then describe it in your own words. Last question: have we collected and summarised all the data we have? Not knowing is a finding, not a failure.
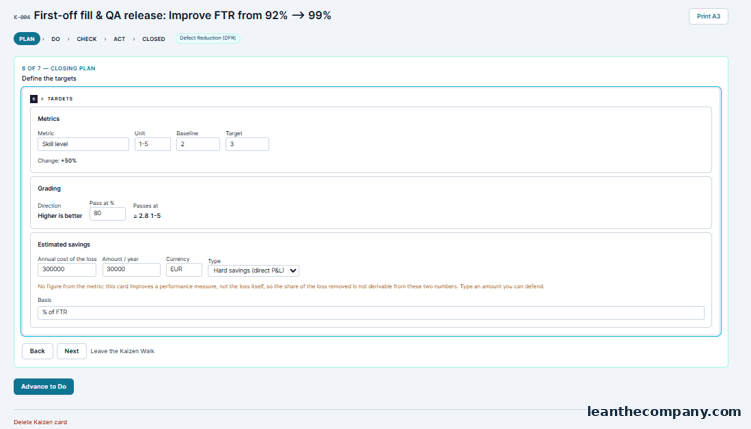
6 · Targets — Baseline and Target, which direction is better, the annual cost of the loss, and the estimated savings with their basis. Enter the metric once here; step 10 reads it back.
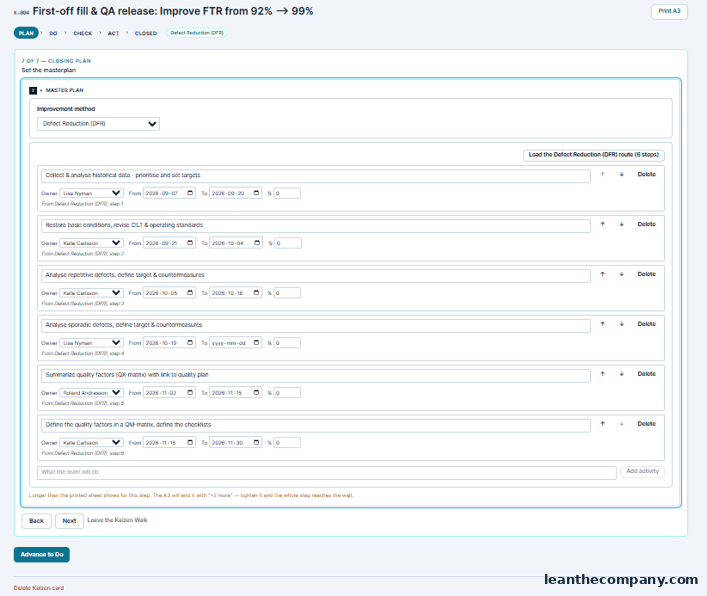
7 · Master plan — the activities, each with an owner, a start and end date, and progress. Select an improvement method and load the activities to follow.
Do — steps 8 and 9
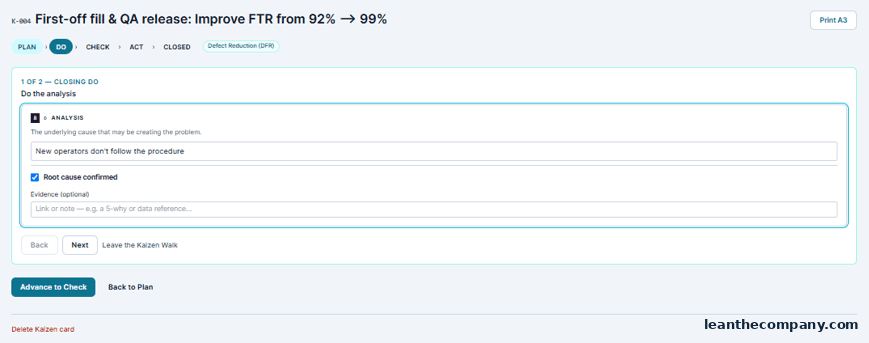
8 · Analysis — the underlying cause, confirmed or not, with evidence: a 5-Why link, a data reference.
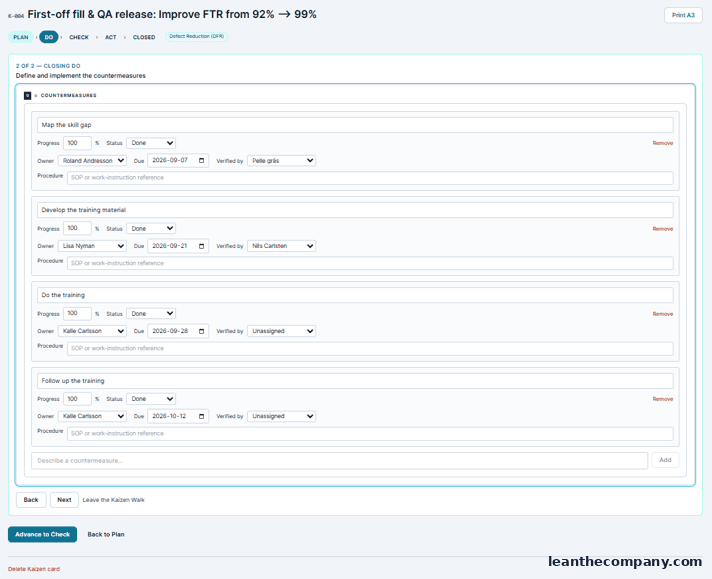
9 · Countermeasures — one line each, with an owner, a due date, a verifier and a percentage. Until there is one, the step says so: "No countermeasures yet. At least one is needed to move to Check."
Check — step 10
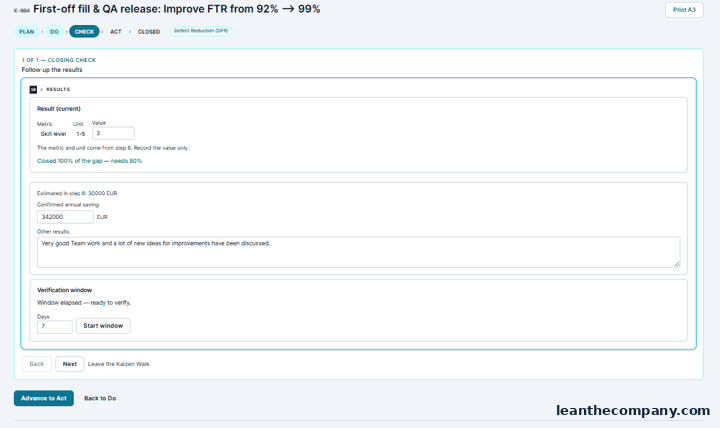
10 · Results — the honest question. Start the verification window, enter the current value, and the card reads out the gap: Baseline → Target → Current · gap closed 100 %, needs 80 %. Target not met? Step back to Do and iterate. That is PDCA working, not failing.
Act — steps 11 and 12
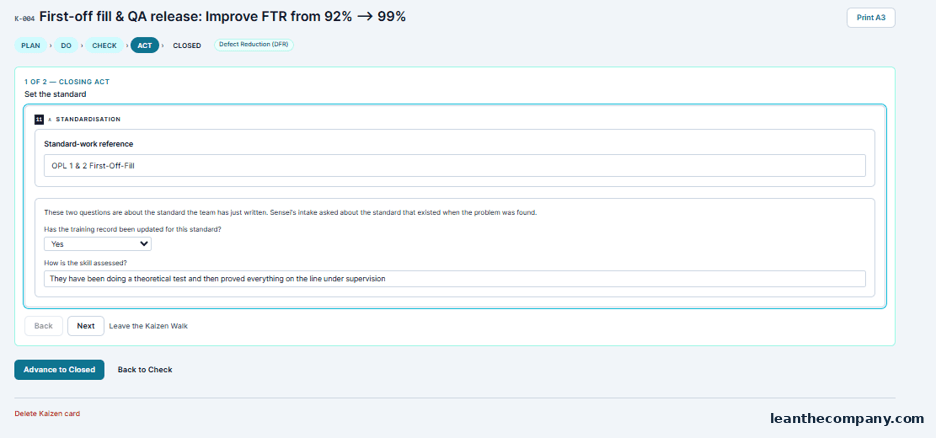
11 · Standardisation — the standard-work reference the improvement became, whether the training record is updated, and how the skill was assessed. An improvement that changed no standard has not been secured.
- 12 · Future actions — the follow-up date, how the follow-up and auditing is done, what reopens this card, where else the standard applies, who still needs training, ideas for next time, and whether the findings were documented and communicated.
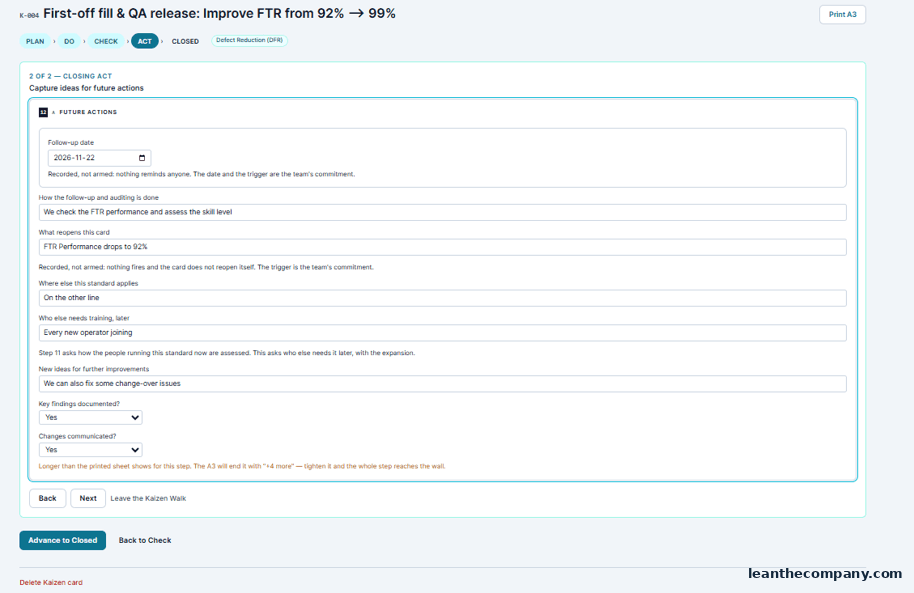
⚑ Step 12 is the one most A3s never had. A closed Kaizen with no re-open trigger and no follow-up date is a win nobody will notice losing.
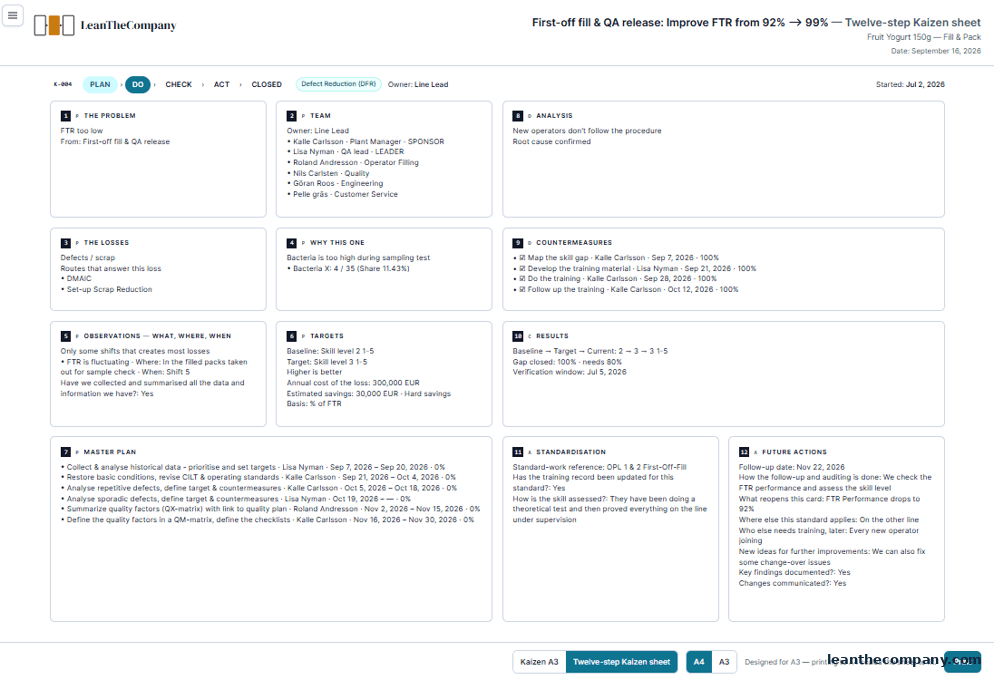
Print it — and there are two documents, not one
Open Print A3 from the card. The bar at the bottom carries both:
Kaizen A3 · Twelve-step Kaizen sheet · A4 · A3 · Print
- Twelve-step Kaizen sheet — all twelve steps as you see them on screen. This is the one for the wall. Anyone can follow the story from step 1 to step 12.
- Kaizen A3 — the summary: team, metrics, problem, root cause, countermeasures, savings and the phase timeline. This is the one for a management review.
Designed for A3; printing to A4 scales the sheet to fit and it stays readable — the row heights are allocated from what each row actually holds, so a full step gets the room and an empty one doesn't waste it.
Tip — in the browser's print dialogue open More settings and switch Headers and footers off, or your wall chart carries today's date and the page's web address across the top and bottom.
The record
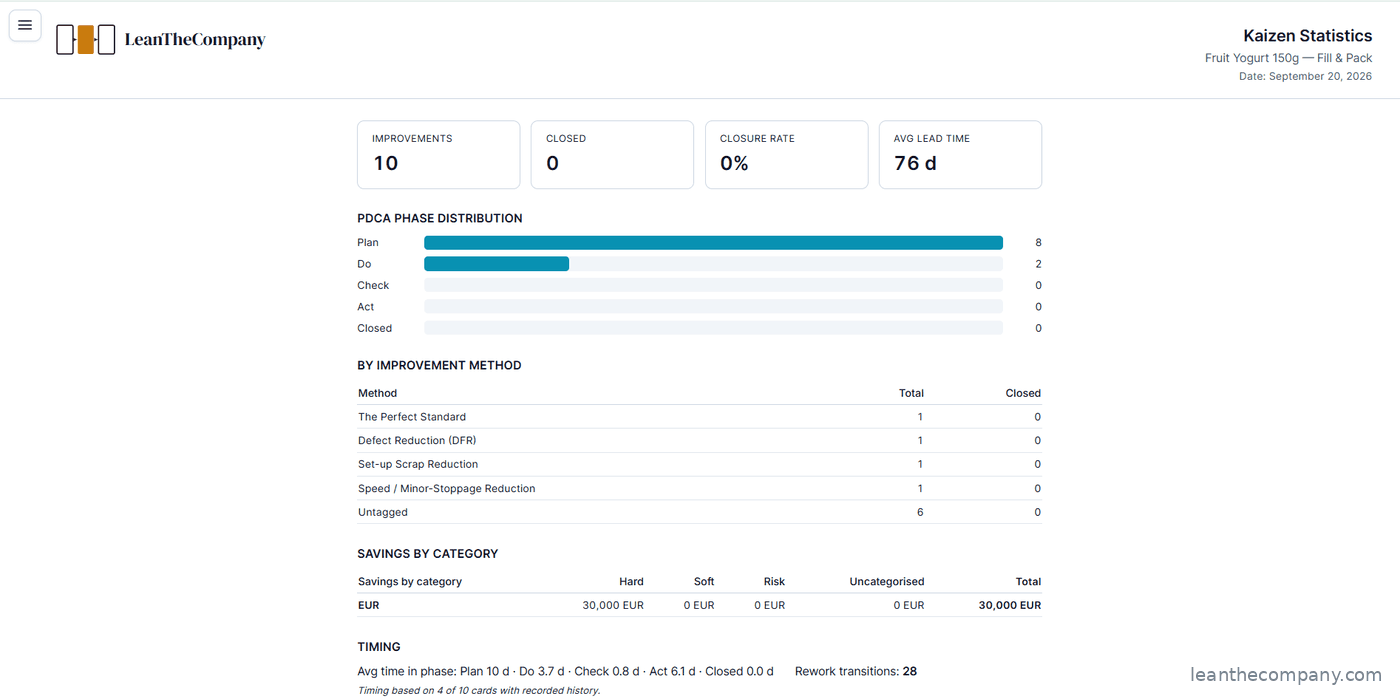
Kaizen Statistics shows the whole Space's improvement engine: closure rate, PDCA distribution, savings by category, by method, phase timing.